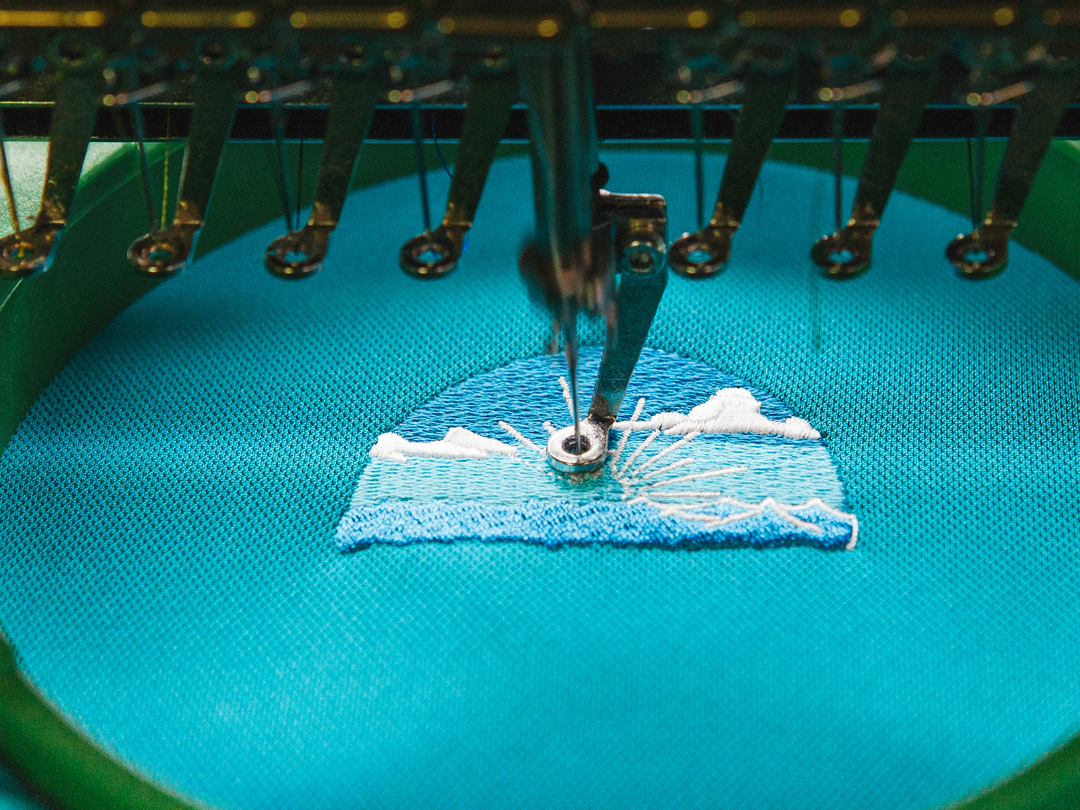
Embroidery can elevate the appeal of canvas bags, polos, hats, t-shirts, gym duffle bags, and much more. Doing smaller stitching tasks is a favorite hobby of many people since sewing machines are relatively affordable and easy to use (with practice). At MSP, we embroider all kinds of products every week. Since we’re always stitching away, we wanted to share some embroidery tips for our at-home needle workers that we’ve learned over the years through trial and error.
The Vision
Before getting to work, the first thing you need to think through is what you’d like to embroider. Envisioning how the stitching will look on the product you want will help move this process along. If possible, render the image you’ve got in mind digitally and print it out. Drawing it works, too. Cut out your design and tape it onto the t-shirt, hat, or whatever it may be you’re embroidering. This way, you’ll know right away if that’s the look you want.
Embroidered Design
Have you ever seen something embroidered that was so detailed that it made the whole product look bad? That’s because simple, light design prevails in this practice. Overly detailed designs, like large logos or excessive text, can take away from the quality of the product. Plus, heavy embroidering can weigh down a garment and cause it to pucker. Rule of thumb:Don’t boil your idea down to the bones, but don’t overdo it either.
Apparel Quality
With embroidering, puckering—or bunching—can occur and really make the end product look bad. So, we’ve got a few precautions to ward puckering. The quality of t-shirts, for example, matters very much. Lightweight materials are at risk for puckering due to their thin nature. Heavier cotton blends, however, are better for embroidery. The thickness of the fabric sustains the stitching, which prevents bunching. Before stitching, pre-wash shirts—once washed and dried, the material will shrink less after it’s embroidered.
Stitching
Before taking a stab on the item you want to use, find a similar material and test stitch on it. Going through a few trial runs will ensure you and your machine are ready to go. Consider using polyester thread; it’s bleach-proof and won’t fade. Choose the best stabilizer for your material and, after spraying a bit of temporary adhesive, place the stabilizer over the item. These keep the embroidery from stretching. We also recommended using a topper; they’re water-soluble and help make the embroidery perfect. Toppers function by keeping threads above the knits. If you’ve got a basting stitch on your machine, use it! This stitch secures the topper and stabilizer. Finally, press the embroidered area with a press cloth once you’re finished. Any hoop marks and wrinkles will be released.
Embroidering can be a painstaking task—one wrong move, and you’ll need to remedy the error or toss the product altogether. Even with our tips on embroidery, the idea of it may still seem intimidating. Why not let us help? With over 30 years of experience, we’d love to get to know you and your ideas to help create exactly what you need. Our embroidery machines take the guesswork out of stitching and quickly produce the best results. If you’d like to discuss our embroidery services or hear more about what MSP offers, please contact us.


